August 18, 2014

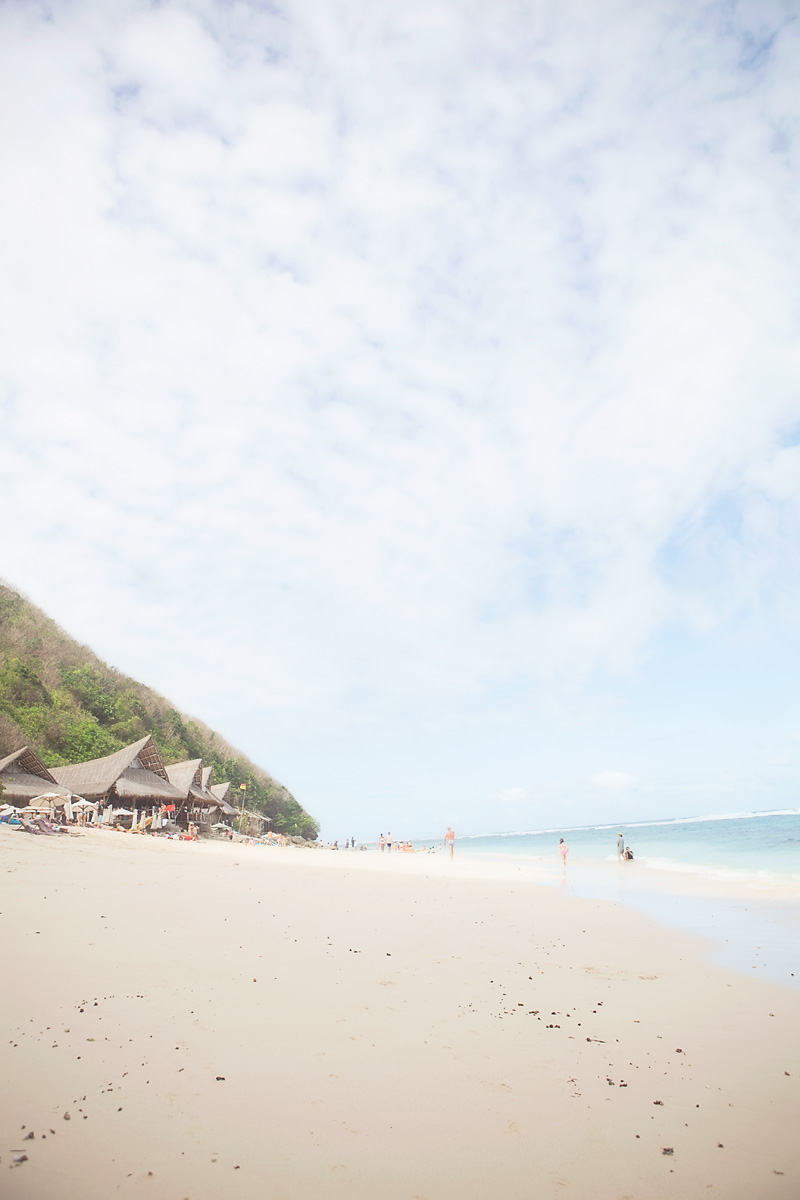
So after what has been the most amazing winter here in Sydney the weather has finally cracked and the rain is coming down by the bucket load!  As I sit here huddled in front of my fire watching the weather around me I keep thinking back to our amazing trip to Bali in July and thought today would be the perfect day to share some sun, fun and happiness with you.

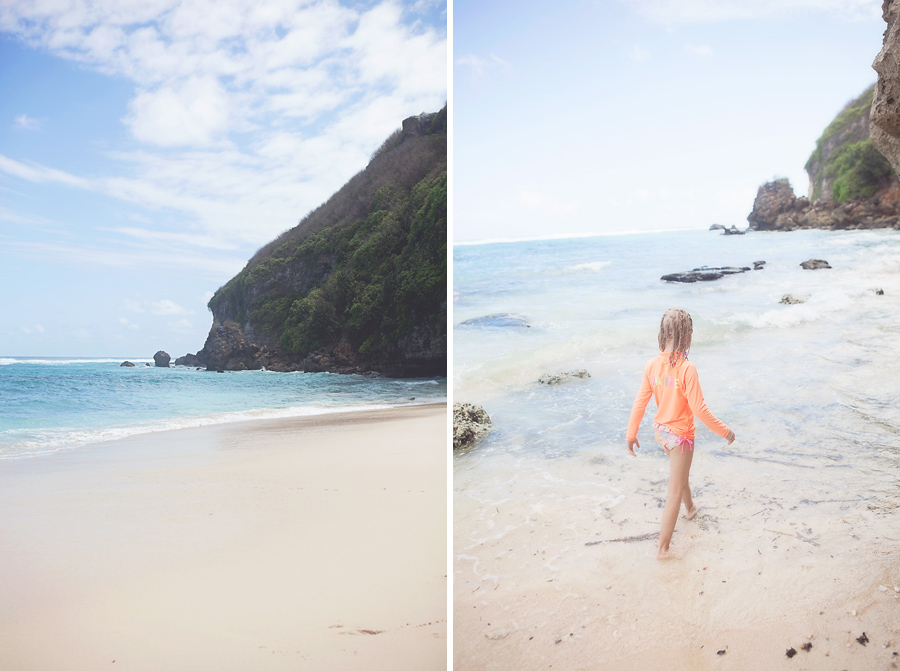
I know I said it in my post a few months ago after our April trip to Bali but it really is the one place in the world I feel very connected to the world.  The constant warm days, the friendly people and the wonderful vibe I get every time I am in Bali makes me desperate to spend more than a just a few weeks at a time there.  I am still working on Mr A and hope that sometime in my future we can even a few months living the Bali life – switching off from the pace of life at home and just enjoying each others company.  

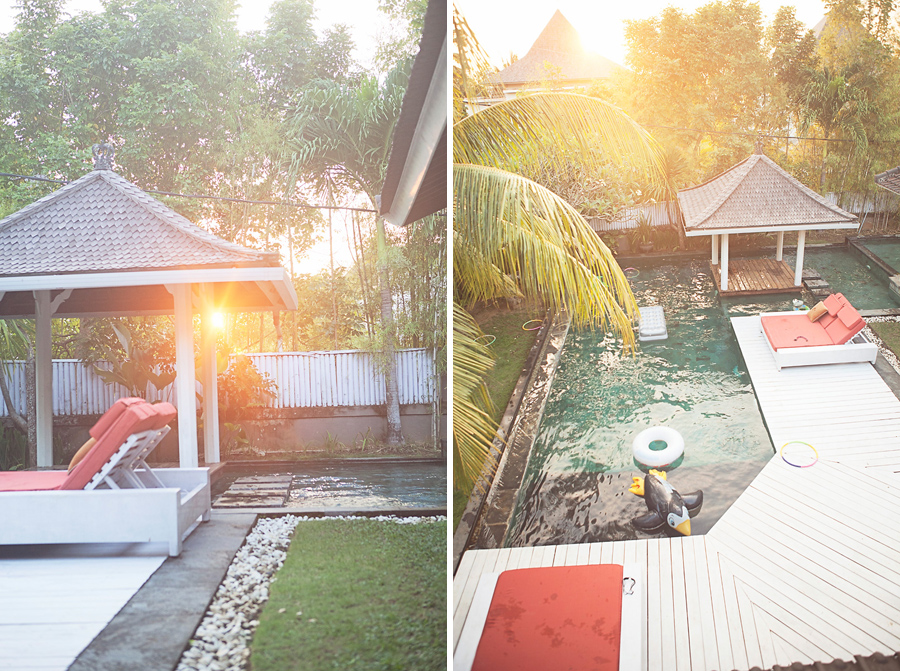
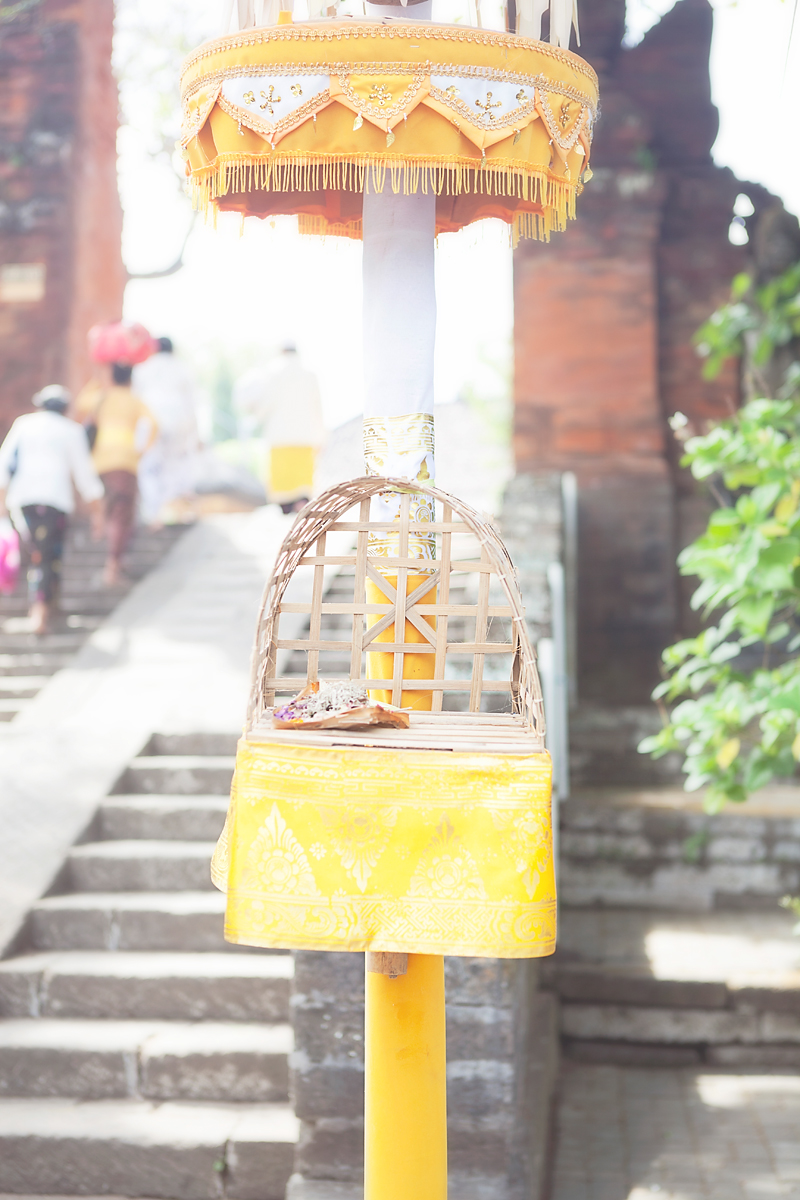
This trip to Bali was a little different than others as we were staying at my lovely friends Rowe’s villa.  Rowe is an Aussie photographer living in Bali with her family while her daughter Audrey attends the amazing Green School (such an amazing school – even just to visit).  We spent our first day with Rowe, Danny and Audrey before they headed home to Australia for a few weeks – it was a lot more like living in Bali than being in a resort with loads of other families – I just loved it and it gave me even more of a taste for it. 

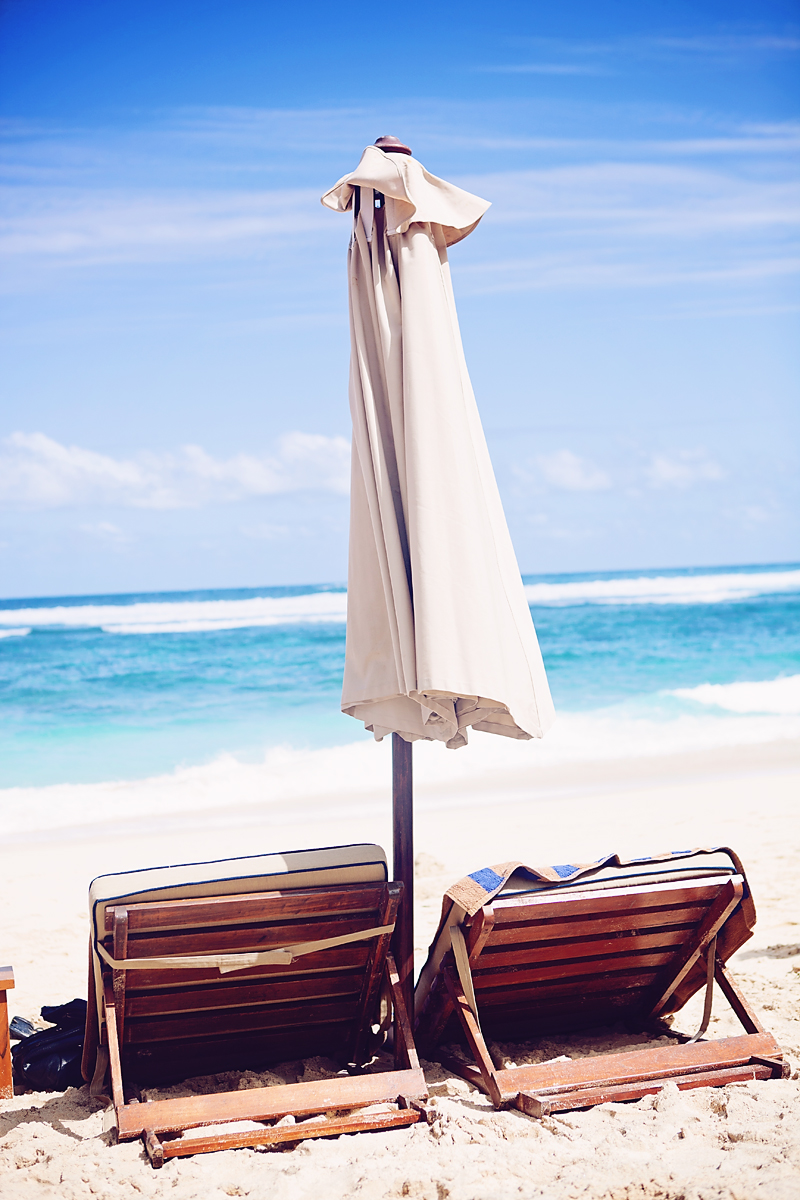
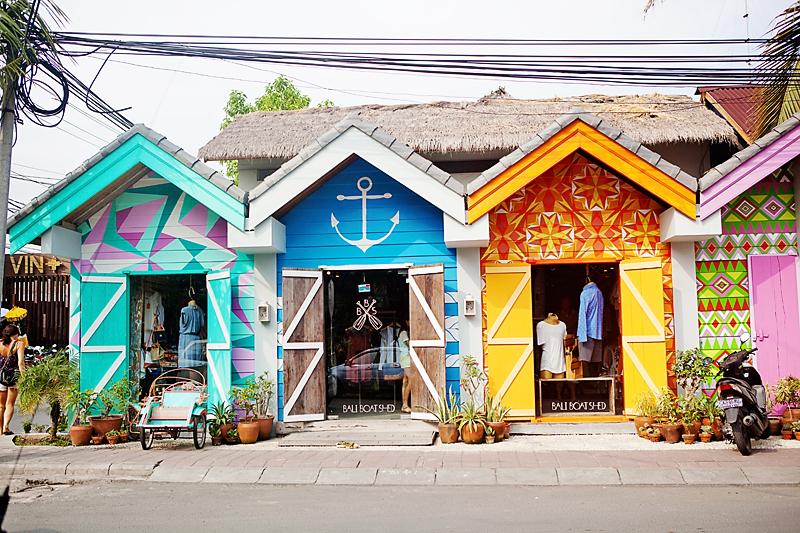
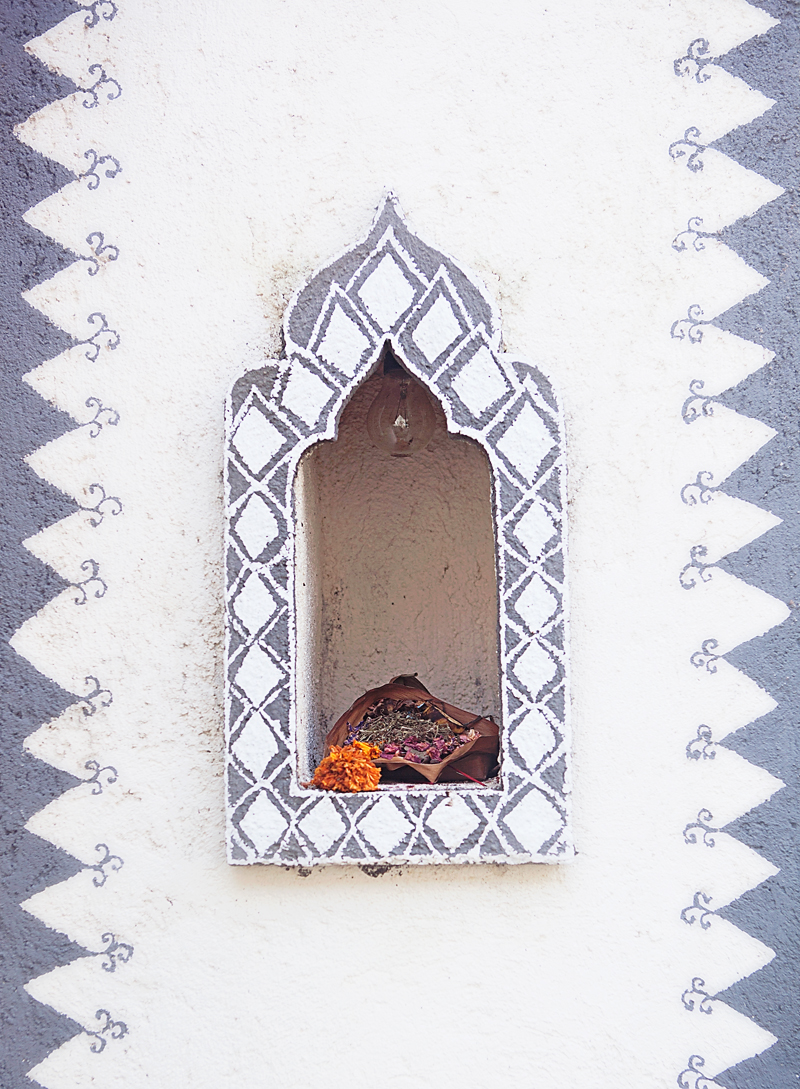
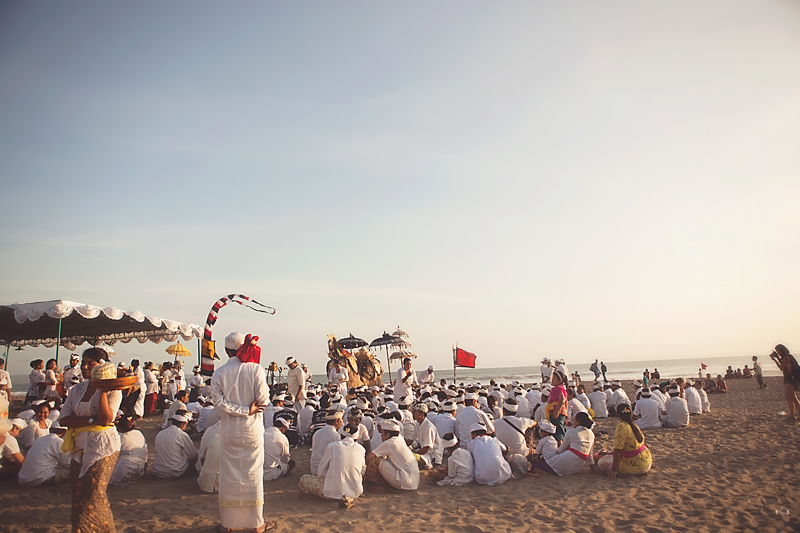
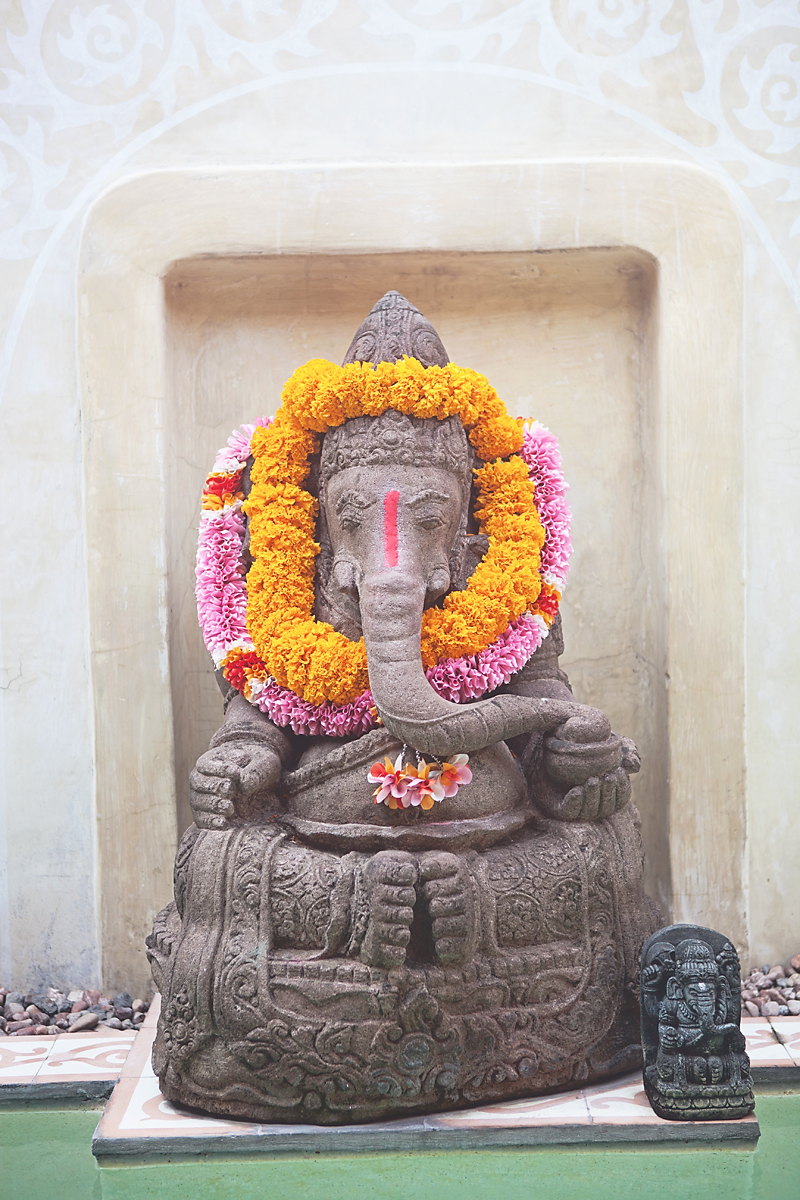
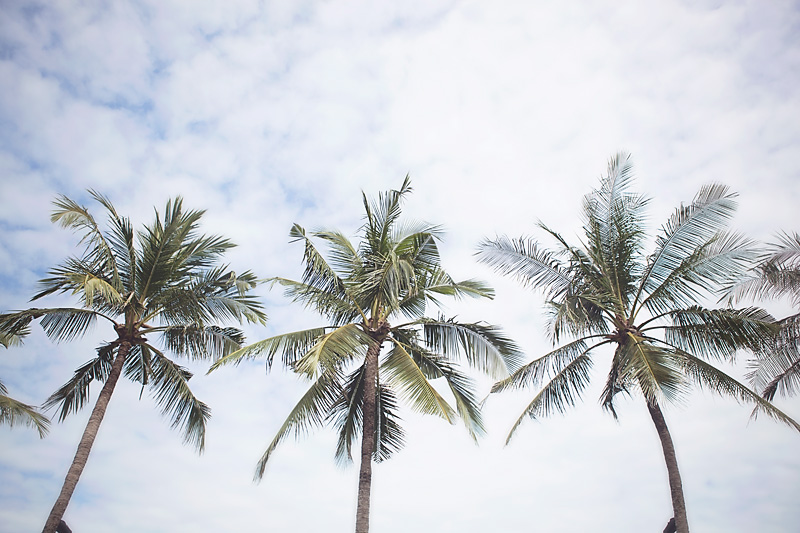
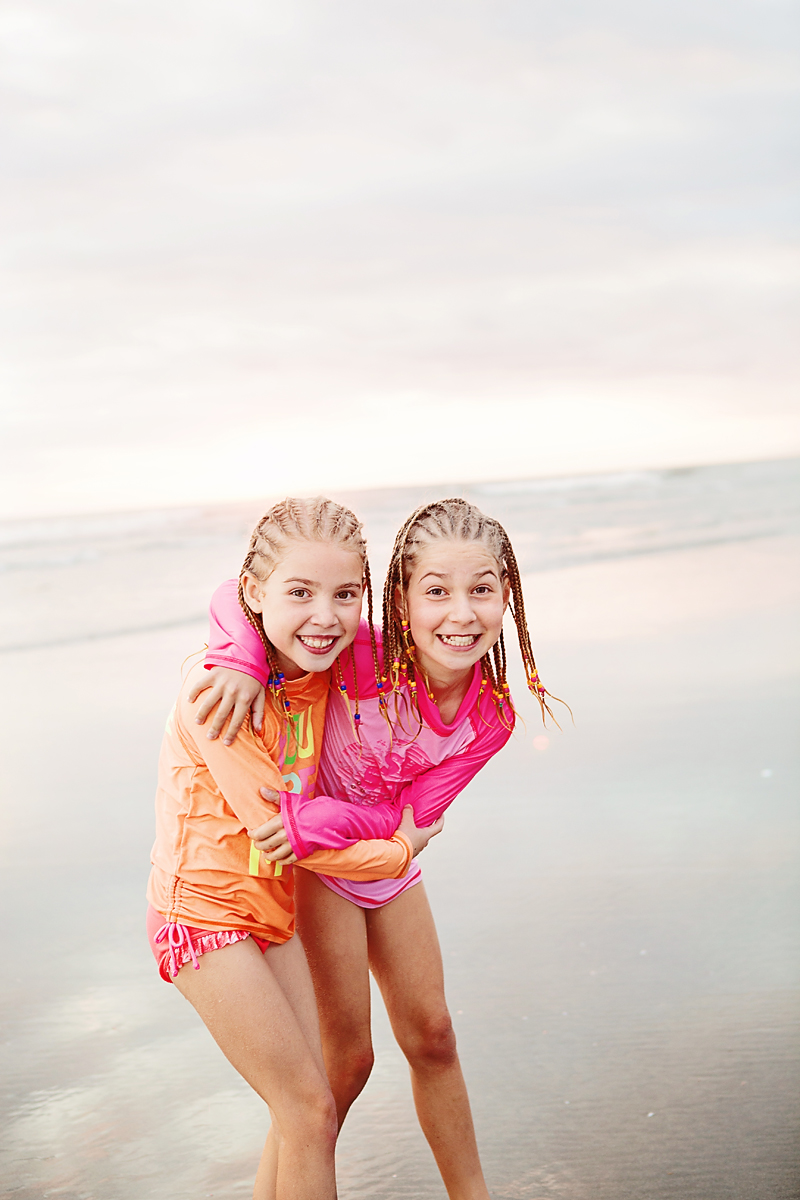
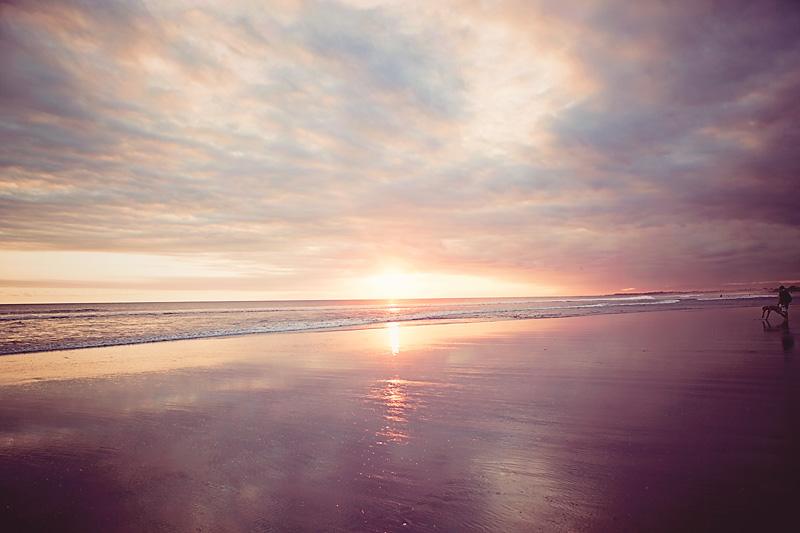
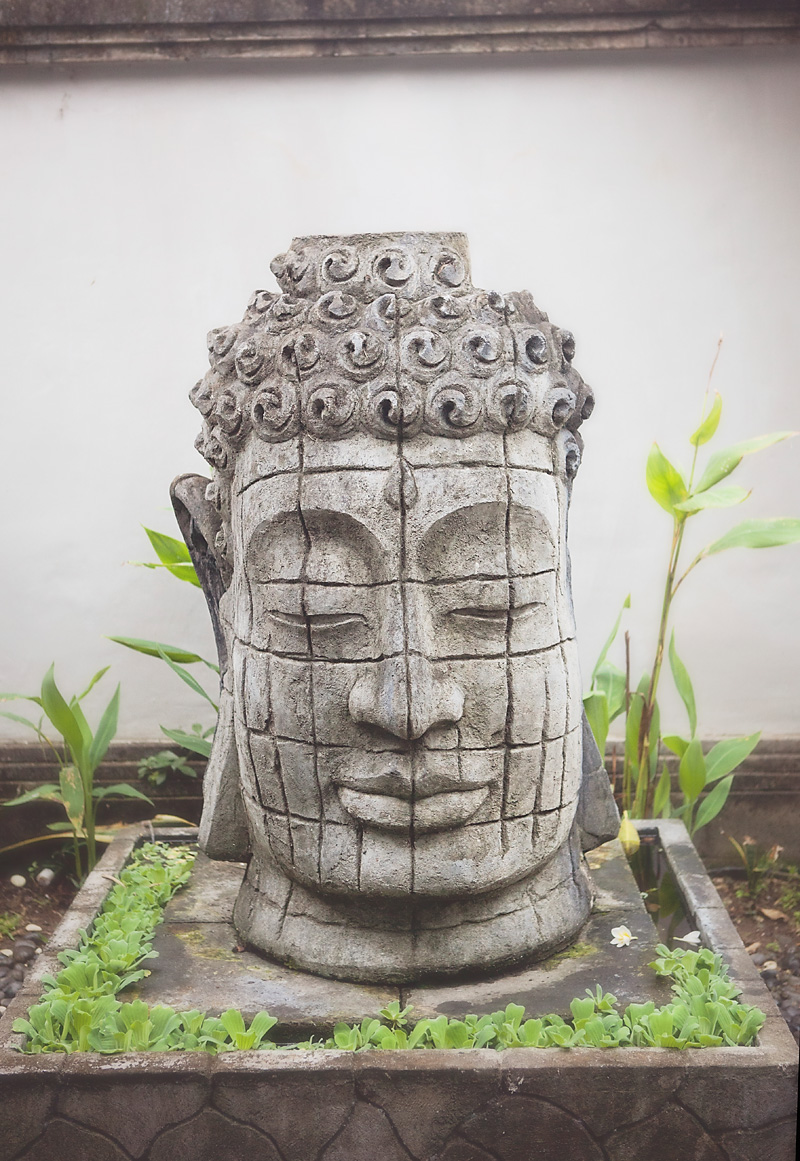
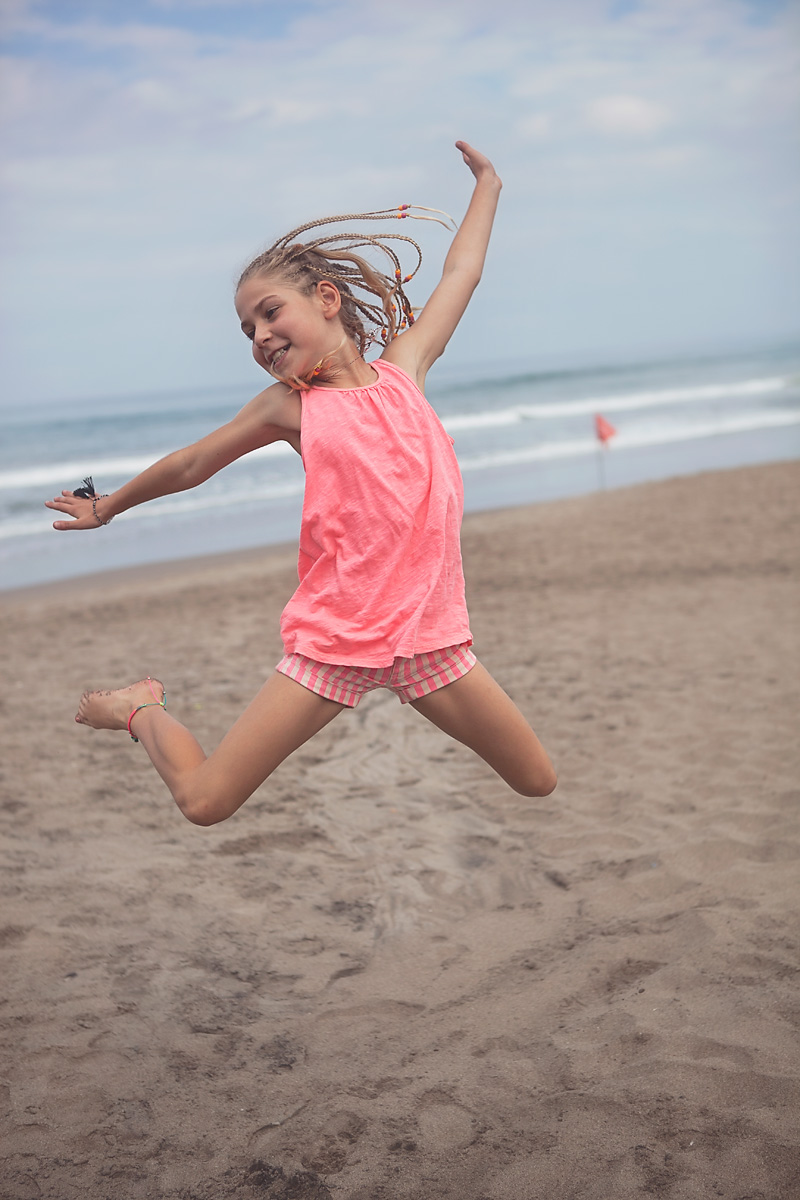
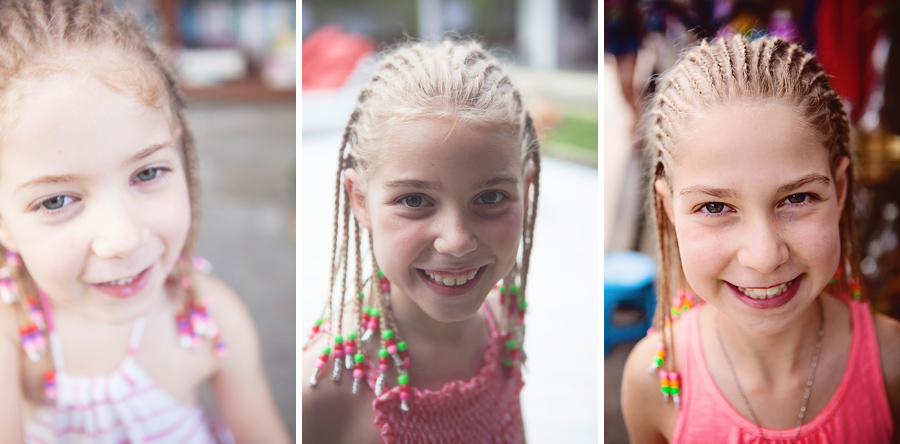
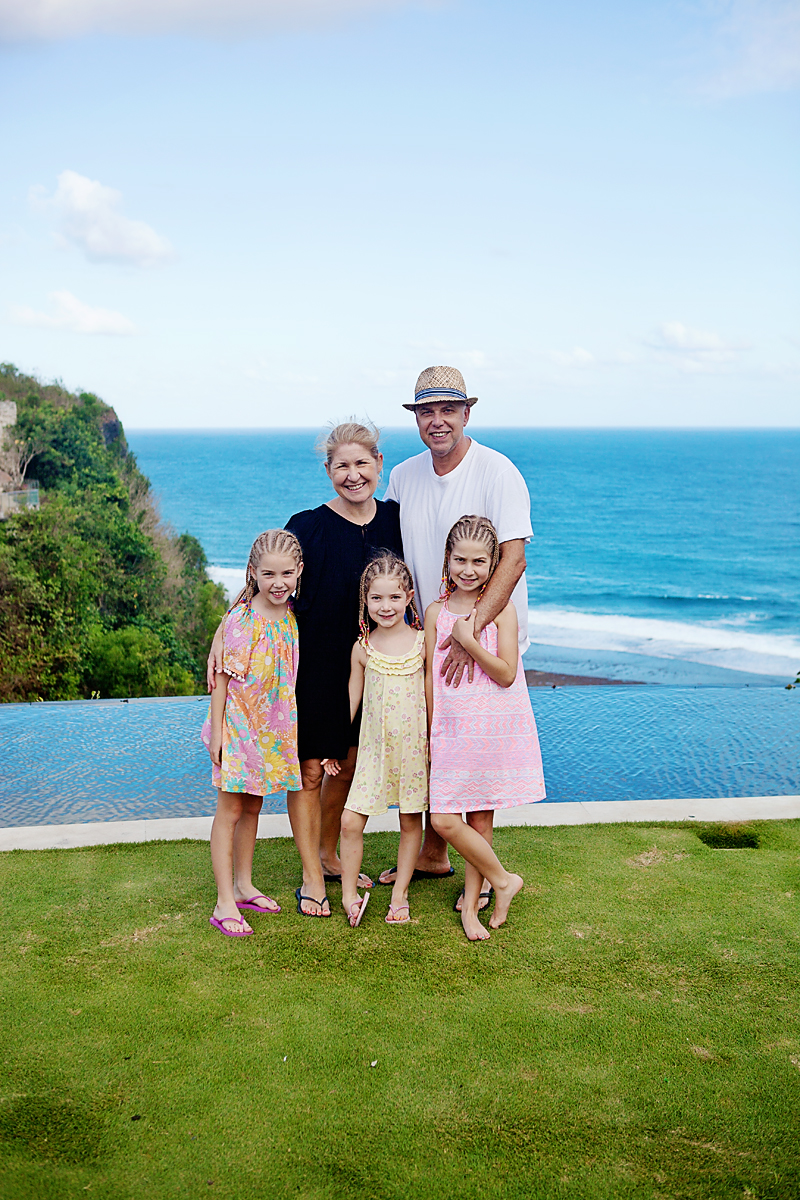
So here are 20 of my favourite photos from our recent trip away (somehow I decided on these out of over 1,000) – I think I will have to do another post soon to share some more fun photos.

Would love to know where you love travelling to?  Is there somewhere in the world that you feel really connected to? 

IMG_5201_wBalijuly001 Balijuly002untitled shoot-5158_wuntitled shoot-4998_wIMG_4989_wcropIMG_4715_w sweet style-4908_wIMG_5529_w Sweet Style-5407_wIMG_5398_wIMG_5603_wIMG_5559_wIMG_5484_wBalijuly006untitled shoot-5268_w

August 15, 2014

I am really loving the pineapple trend so I have jumped aboard and found a few cool things to inspire you this Friday!

With only 16 days officially left of winter I am certainly dreaming of the warmer weather and pineapples remind me of summer days by the pool!

Have a lovely weekend everyone.

pineapple

TOP :: T-SHIRT :: NECKLACE :: PHONE COVER :: SHOES :: PRINT :: CANDLE :: BEDCOVER :: COCKTAIL :: POPSICLE


August 12, 2014

It is recipe day today and Bianca from Botanic Baker Blog is back today to share with us one of her delicious Vegan treats.

This Apple and Cinnamon Slice sounds just amazing and would be the perfect afternoon treat for visitors (or just to treat yourself).  The recipe can be found and printed at the bottom of the post – as will all of Bianca’s recipes they can all be made non vegan.

slice003 slice004


Apple and Cinnamon Slice
Write a review
Print
Ingredients
  1. 2 cups plain flour, sifted
  2. 2 tsp baking powder
  3. ½ cup caster sugar
  4. 125g softened butter
  5. 1 chia egg* - egg can be used also.
  6. ( 1 tbs chia seeds to 3 tbs water, whisk until combine and gel starts to form. Place in fridge for 15 minutes before using)
  7. 2 cups stewed apples, with cinnamon*
Instructions
  1. Simply peel, core and dice your apples then place into a large pot or saucepan with a lid. Sprinkle apples with ground cinnamon and a tablespoon of caster sugar.
  2. Pour in ½ cup of water over the top and put the pot onto a medium heat, stirring occasionally until apples become soft but still firm.
  3. Once cooked, strain and allow the apples to cool before placing them into your slice.
  4. Combine all pastry ingredients into a food processor.
  5. Mix until all ingredients are combine, if needed you can add extra milk if dough is not combining.
  6. While your dough is combining, line your slice tray with baking paper.
  7. Once combine place the dough onto a well floured surface and roll into a ball, place in fridge for 5 – 10 minutes.
  8. While dough is sitting in the fridge pre-heat oven to 180°C.
  9. Cut dough into 2 or 3 balls ( this depends on how many layers you wish to make)
  10. On the well floured surface roll your dough balls into roughly 1 cm layers and start to layer your apples and pastry.
  11. Start with a bottom layer of pastry then add your stewed apples(if you like them sweeter sprinkle a teaspoon of caster sugar on to the apples) then layer the pastry. You will need pastry at the top to keep it all together.
  12. Place apple slice in oven and bake for 25 minutes or until the top is slightly golden brown. Once baked place tray onto a wire rack to cool for 10 minutes before taking the slice out.
  13. Once out cut into slices and sprinkle sifted icing sugar over the top.
Sweet Style http://www.sweetstyle.com.au/

Bianca Virtue is the creator and owner of Botanic Baker Blog in Melbourne, Australia.  After meeting her vegan husband six years ago she started to create and develop vegan recipes that are easy for everyone.  Every recipe can be made non vegan which is the beauty of her recipes.  From simples bakes to learning to make something with seasonal produce her passion is sweet treats.  She is currently studying Patisserie.

August 11, 2014

A few behind the scenes photos today from my place after I gave my favourite display shelving units a styling update last week.

I purchased these gorgeous shelving units 2 years ago so I could display my beautiful cake stand collection – with so many lovely cake stands in my shop I found that I was constantly pulling out various sizes and colours to show customers who popped into my home to make a purchase.  

The collection of course has grown over time and the shelves were starting to look a little messy and cluttered!  Showing every colour in every size while trying to remain stylish wasn’t working and every time I pulled out another little prop to use I would dump it back on the shelves!

It was time for a clean up and a refresh – time to style everything up and combine ranges, colours and various other items I love like books and candles.

Here are the before and after results!  I am feeling so much calmer every time I walk past now – nothing like a good clean out for the soul!

BEFORE

Sweet Style-5611_wShelf001Sweet Style-5654_w

AFTER

Sweet Style-5799_wSweet Style-5808_wbookcase001 bookcase002 bookcase003Sweet Style-5810_w bookcase004 Sweet Style-5801_w

Images :: Leanne Ambrogio for Sweet Style 
Cake Stands & Bowls mostly available in the Sweet Style Online store here

August 8, 2014

Today I am joined by my clever friend Jordan from Polkadot Prints.  Jordan has put together for you a beautiful printable gift tag that is filled with lots of meaning.
The recipe for this delicious Rocky Road is also included at the bottom of the post as well as some further information about a beautiful personal project that Jordan is working on that I would love you to read more about.

Here is what Jordan told me about how her ideas came about:-

“I’ve always felt that life is full and wonderful, but there sure are valley’s and hard times eh? The past few months in my personal life have been probably some of the hardest I have faced. My, now healthy, five month old baby girl spent her first week of life in the NICU, giving us the fright of our lives. Then just a few months ago one of my younger sisters passed away in tragic circumstances. It’s through the help and kindness of friends and family that definitely make hard times a whole lot sweeter. 

 I designed these gift tags with the phrase “let me know if there’s anything I can do” in mind. People often don’t know what to say or do when someone is going through something, and we often don’t know how to help, but I encourage you to mix up a batch of Rocky Road and just turn up. Be there. Choccy in hand. Or leave it on a desk, at a front door, in a locker, in the letter box.  It will mean more than you think it will. It’s amazing how something little can mean so much. A little bit of tangible love. Go on…go get that chocolate, download your free tags & brighten someones day today!”

 
Sweet-Style-5708_text02_bleach_wSweet Style-5671_wmRockyroad_sweetstyle004Sweet Style-5686_wm

You can download your free printable gift tags here.

 Jordan Bariesheff is the owner and creator of Graphic Design & Stationery business Polkadot Prints.  Jordan loves crafting up parties and sharing DIY ideas.  She lives in sunny Brisbane with her husband and three kids.  Read more about Jordan on her blog here.  

 Jordan has also recently launched a very special Pozible project.  Please visit her campaign here to find our more about this really beautiful wall art. 

Read on now for this yummy and simple recipe for Rocky Road – I hope you like our new recipe card feature which means you can print out this recipe and pop it in your recipe book.

Photography :: Leanne Ambrogio | Sweet Style
Printables :: Jordan Bariesheff | Polkadot Prints


Rocky Road
Write a review
Print
Ingredients
  1. 400g Cooking Chocolate
  2. 30g copha
  3. 1 cup of nuts (walnuts or peanuts)
  4. 1 x 250g pkt marshmallows
  5. Optional
  6. 1/2 cup desiccated coconut
  7. 1/2 cup glace cherries
  8. 1/2 cup milk arrowroot biscuit
Instructions
  1. Break the chocolate into small pieces and place in heatproof bowl
  2. Add copha pieces to chocolate
  3. Melt in microwave on medium heat for 4-5 minutes (stiring every minute) or until chocolate and copra has melted
  4. Stir until smooth
  5. Add nuts, marshmallows and optional items and stir until evening combined
  6. Pour mixture into a lined lamington tin and spread out evenly.
  7. Place in refrigerator for 2 hours or until set.
Sweet Style http://www.sweetstyle.com.au/